QuickStart
QuickStart
Section titled “QuickStart”Get up and running with Jan in minutes. This guide will help you install Jan, download a model, and start chatting immediately.
- Download Jan
- Install the app (Mac, Windows, Linux)
- Launch Jan
- Go to the Hub Tab
- Search for Jan v1
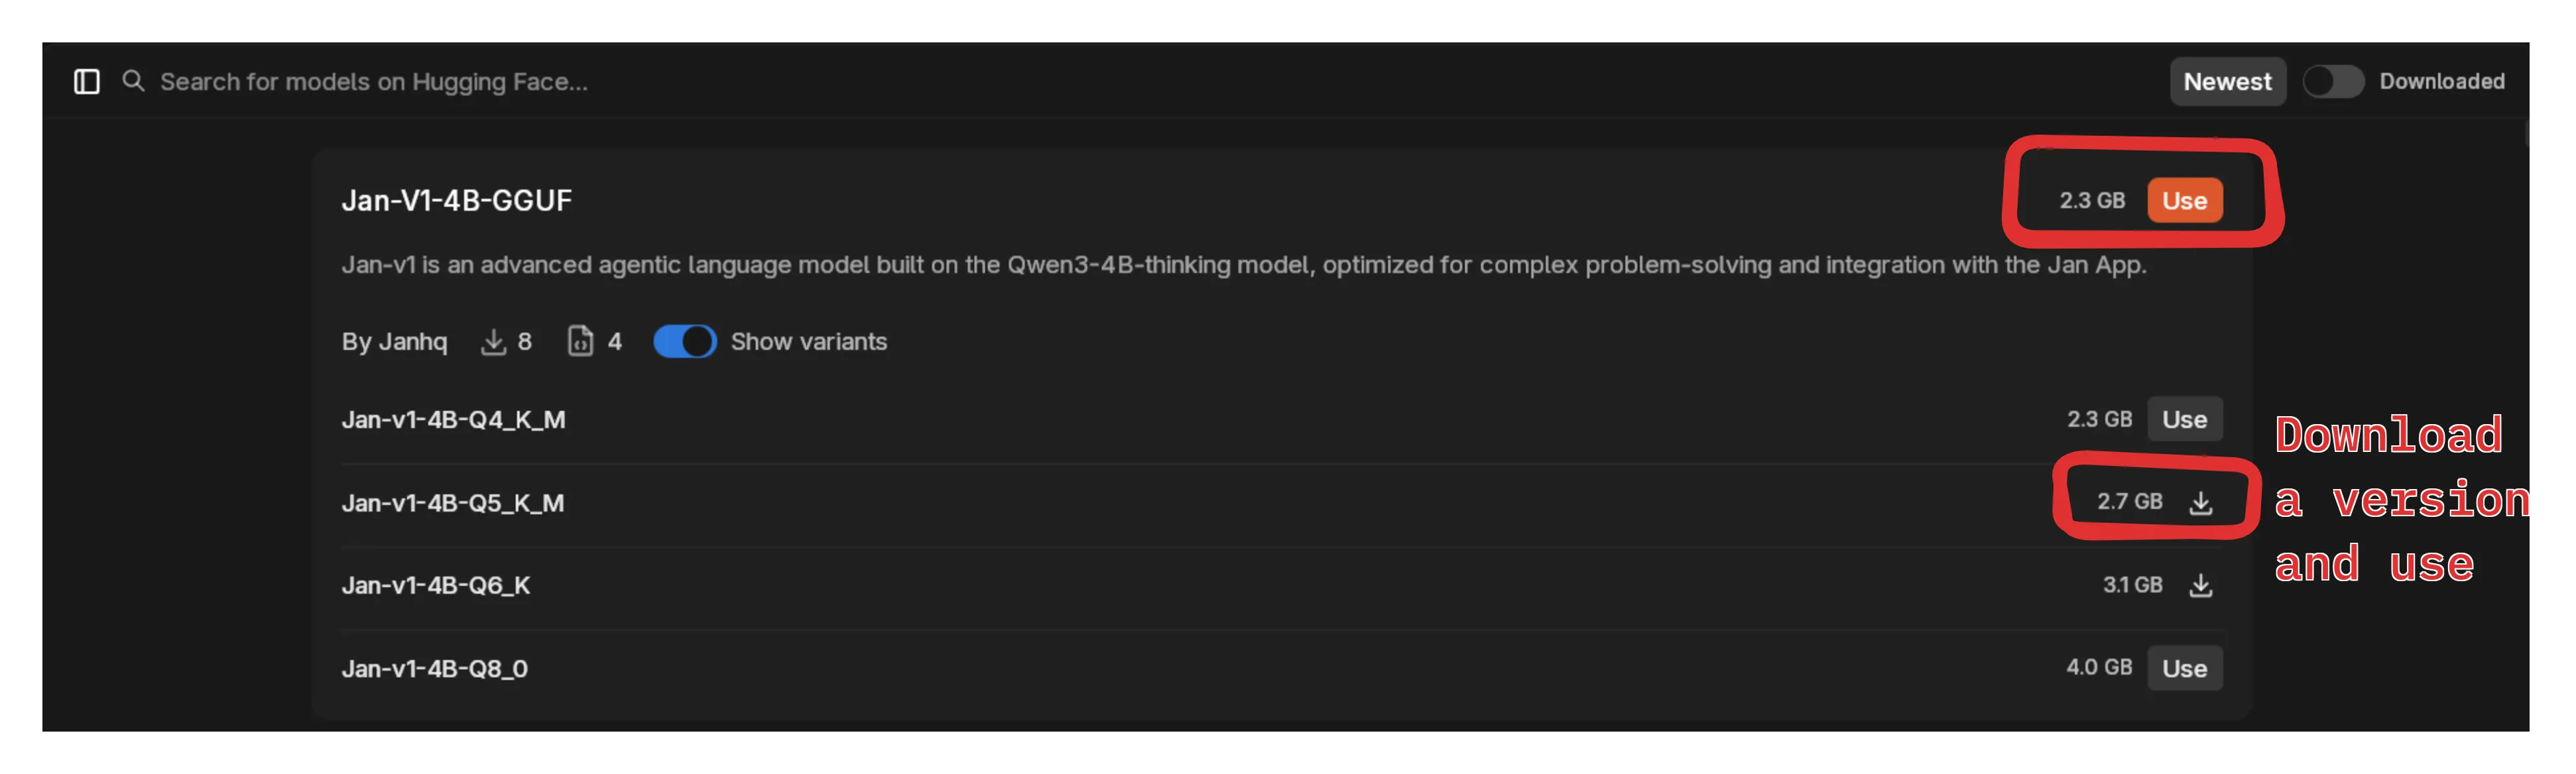
- Choose a quantization that fits your hardware:
- Q4_K_M (2.5 GB) - Good balance for most users
- Q8_0 (4.28 GB) - Best quality if you have the RAM
- Click Download
- Go to Settings > Hardware
- Toggle GPUs to ON
- Click the New Chat icon
- Select your model in the input field dropdown
- Type your message and start chatting
- “Explain quantum computing in simple terms”
- “Help me write a Python function to sort a list”
- “What are the pros and cons of electric vehicles?”
Step 1: Install Jan
Section titled “Step 1: Install Jan”Step 2: Download Jan v1
Section titled “Step 2: Download Jan v1”We recommend starting with Jan v1, our 4B parameter model optimized for reasoning and tool calling:
HuggingFace models: Some require an access token. Add yours in Settings > Model Providers > Llama.cpp > Hugging Face Access Token.

Step 3: Enable GPU Acceleration (Optional)
Section titled “Step 3: Enable GPU Acceleration (Optional)”For Windows/Linux with compatible graphics cards:

Step 4: Start Chatting
Section titled “Step 4: Start Chatting”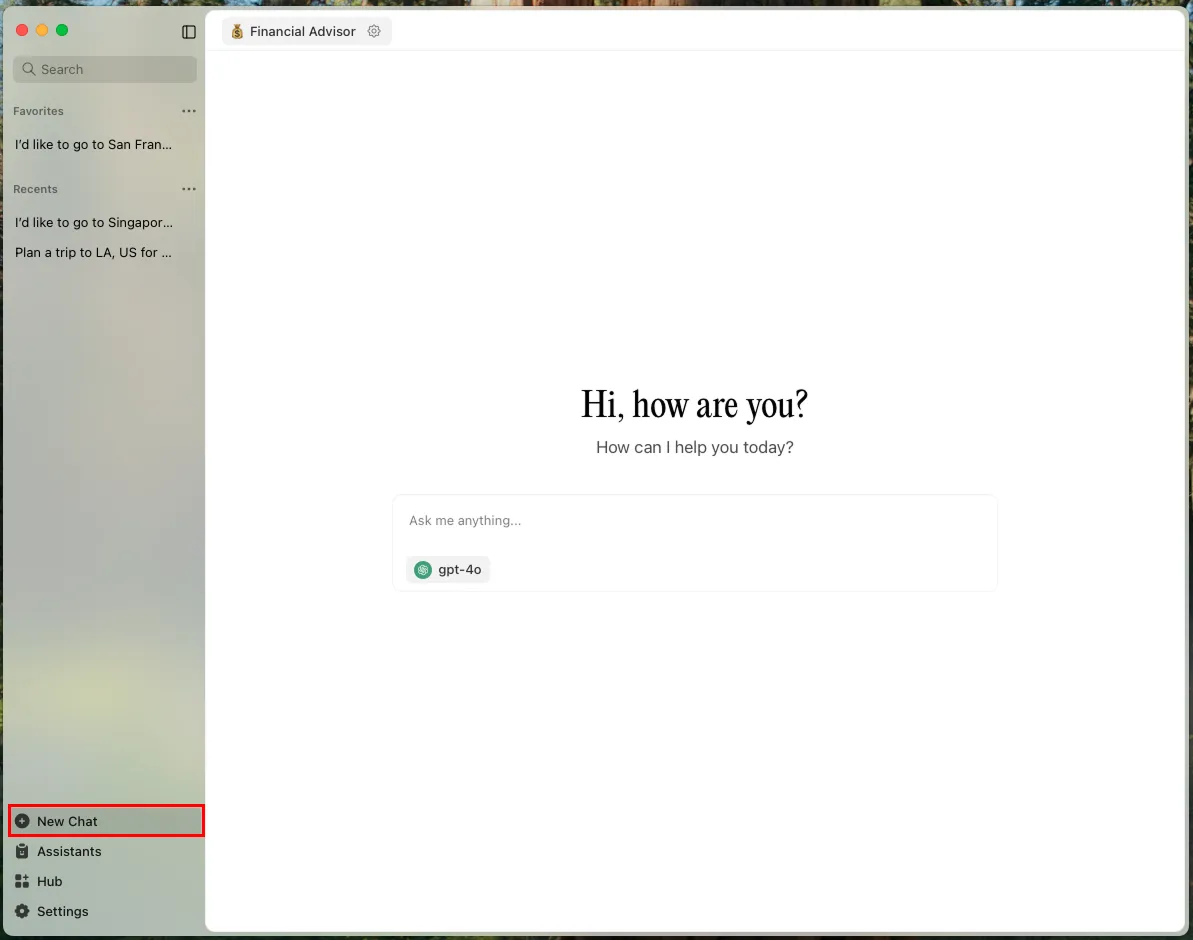
Try asking Jan v1 questions like:
Managing Conversations
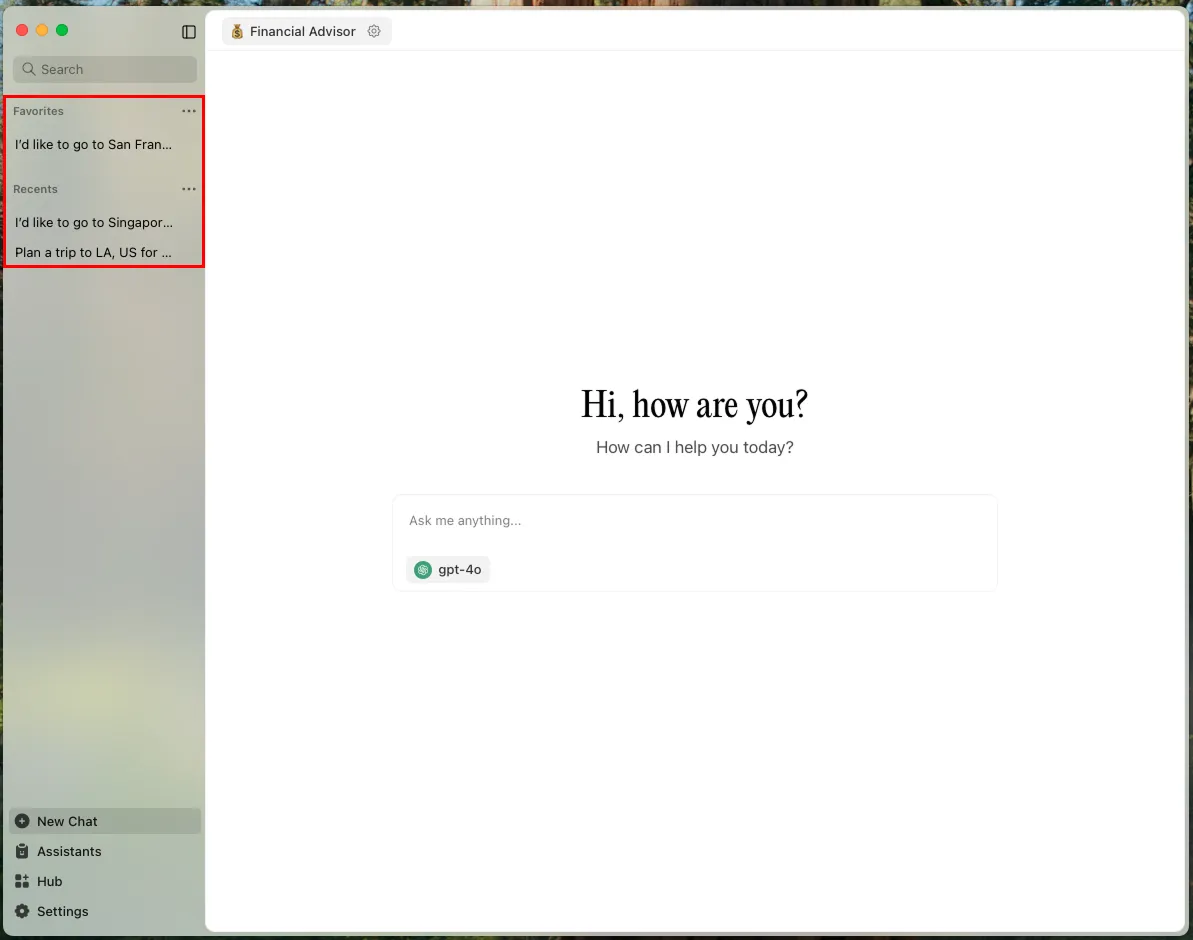
Section titled “Managing Conversations”Jan organizes conversations into threads for easy tracking and revisiting.
View Chat History
Section titled “View Chat History”- Left sidebar shows all conversations
- Click any chat to open the full conversation
- Favorites: Pin important threads for quick access
- Recents: Access recently used threads
Edit Chat Titles
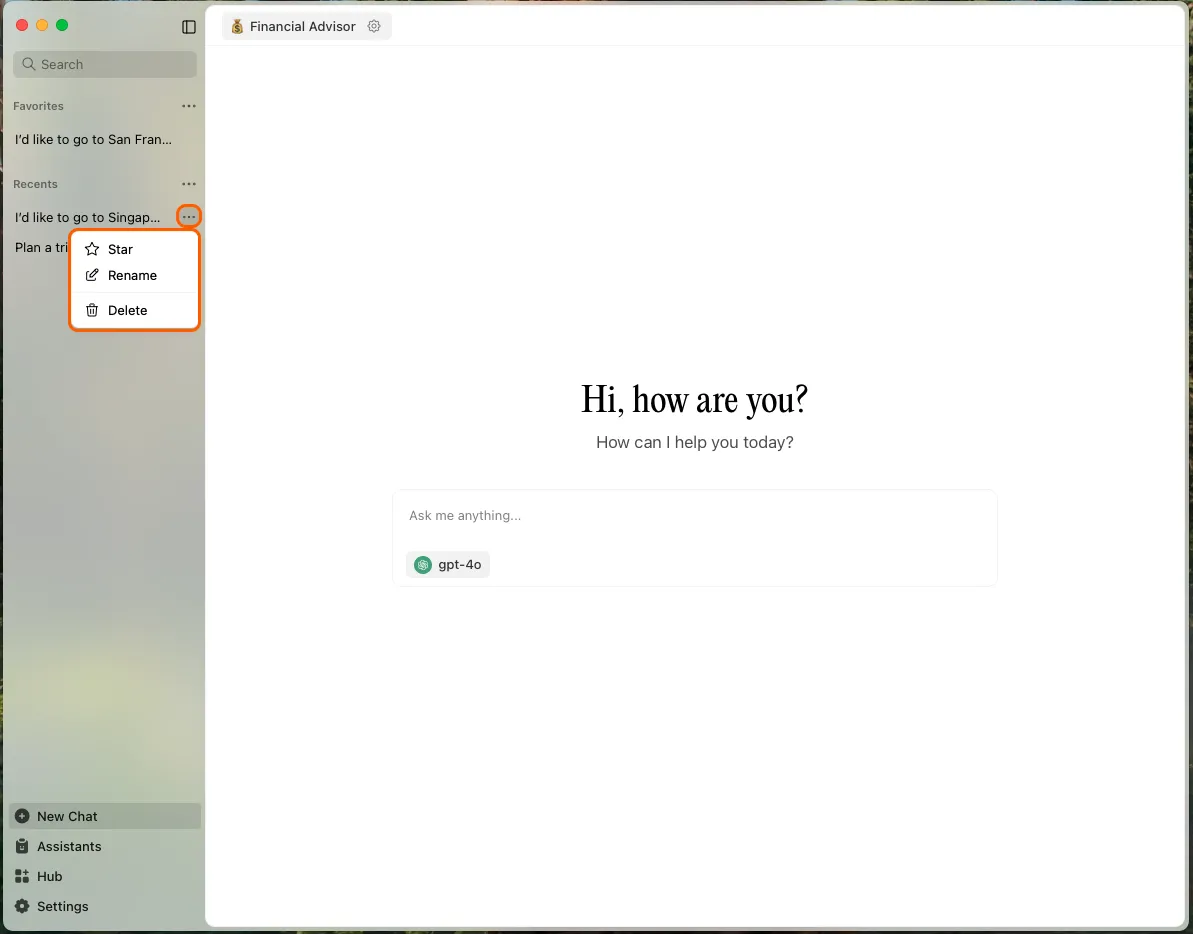
Section titled “Edit Chat Titles”- Hover over a conversation in the sidebar
- Click the three dots icon
- Click Rename
- Enter new title and save
Delete Threads
Section titled “Delete Threads”Single thread:
- Hover over thread in sidebar
- Click the three dots icon
- Click Delete
All threads:
- Hover over
Recentscategory - Click the three dots icon
- Select Delete All
Advanced Features
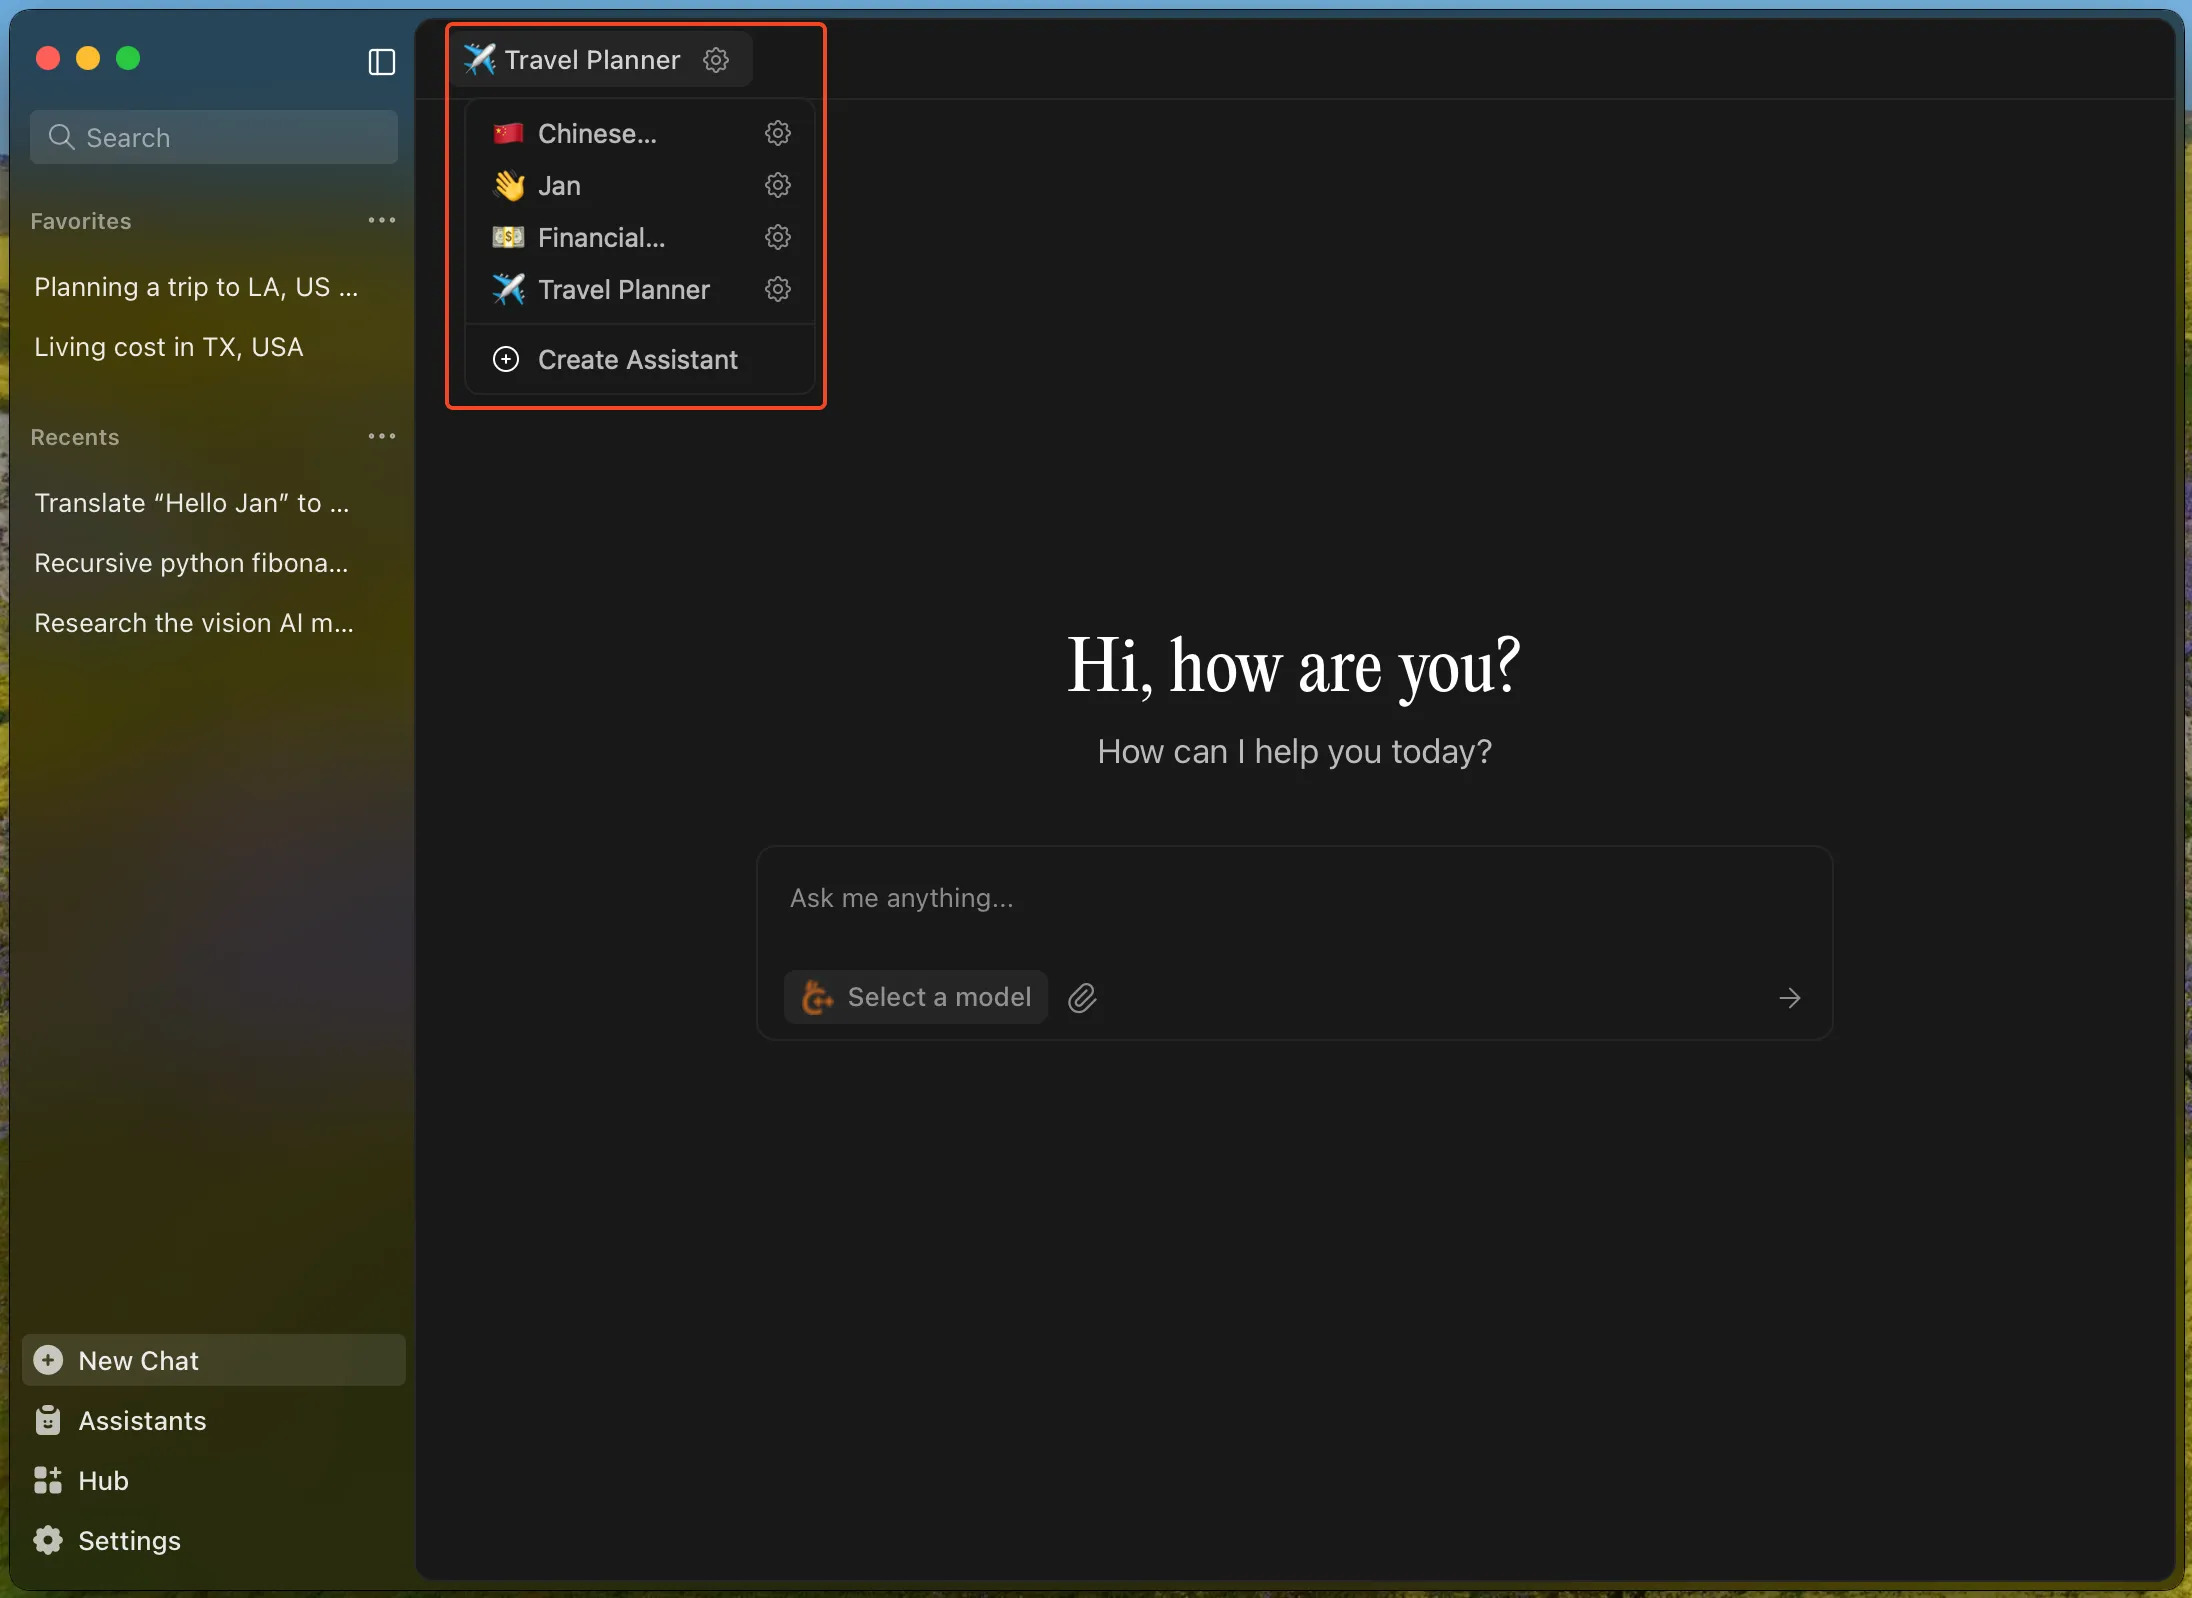
Section titled “Advanced Features”Custom Assistant Instructions
Section titled “Custom Assistant Instructions”Customize how models respond:
- Use the assistant dropdown in the input field
- Or go to the Assistant tab to create custom instructions
- Instructions work across all models
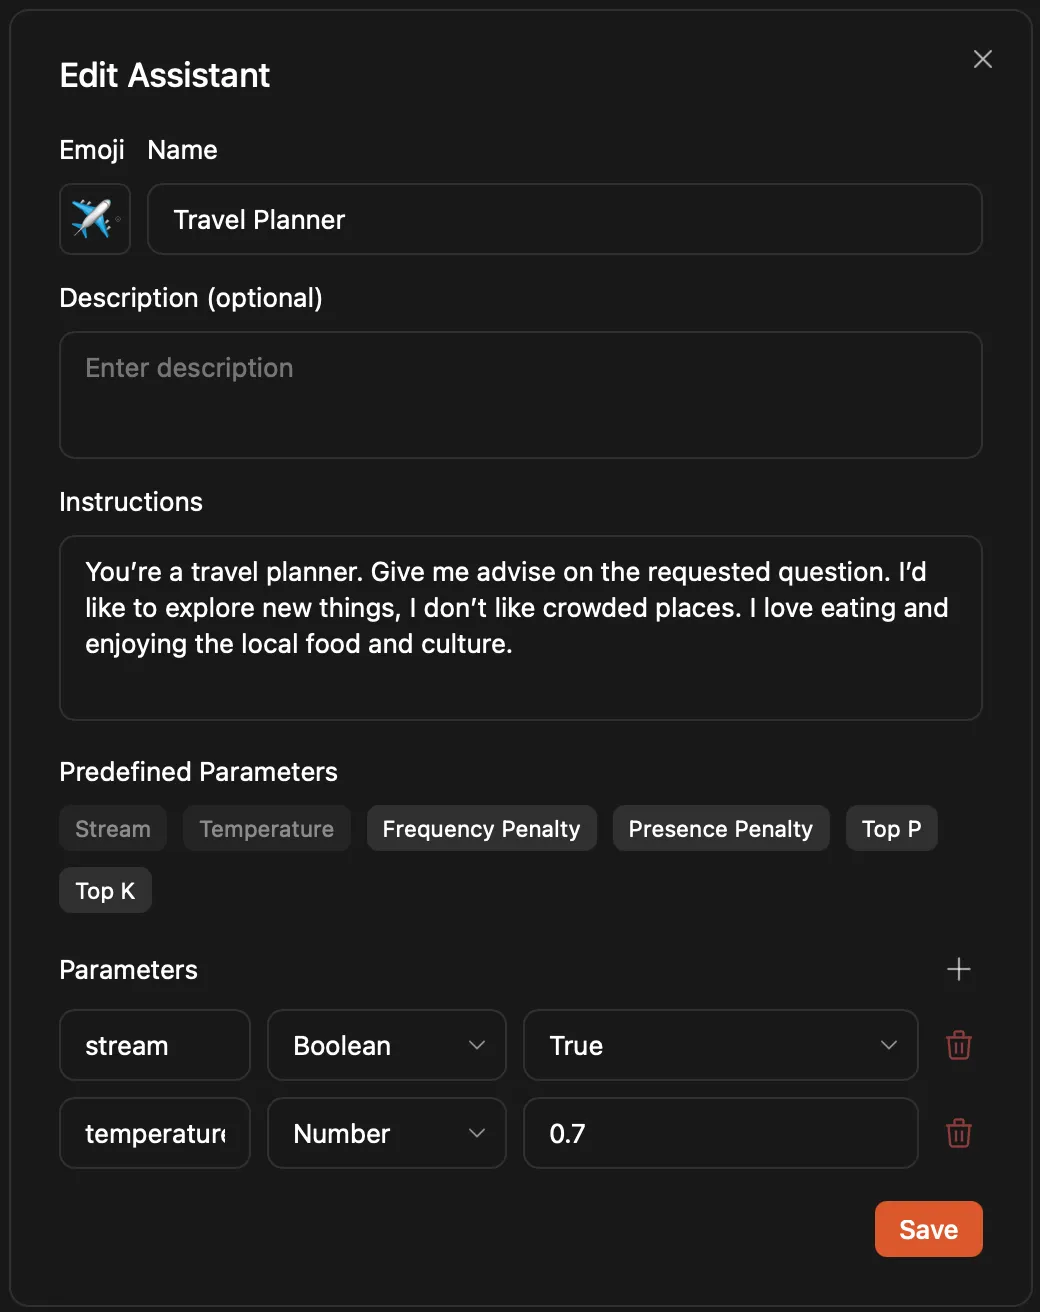
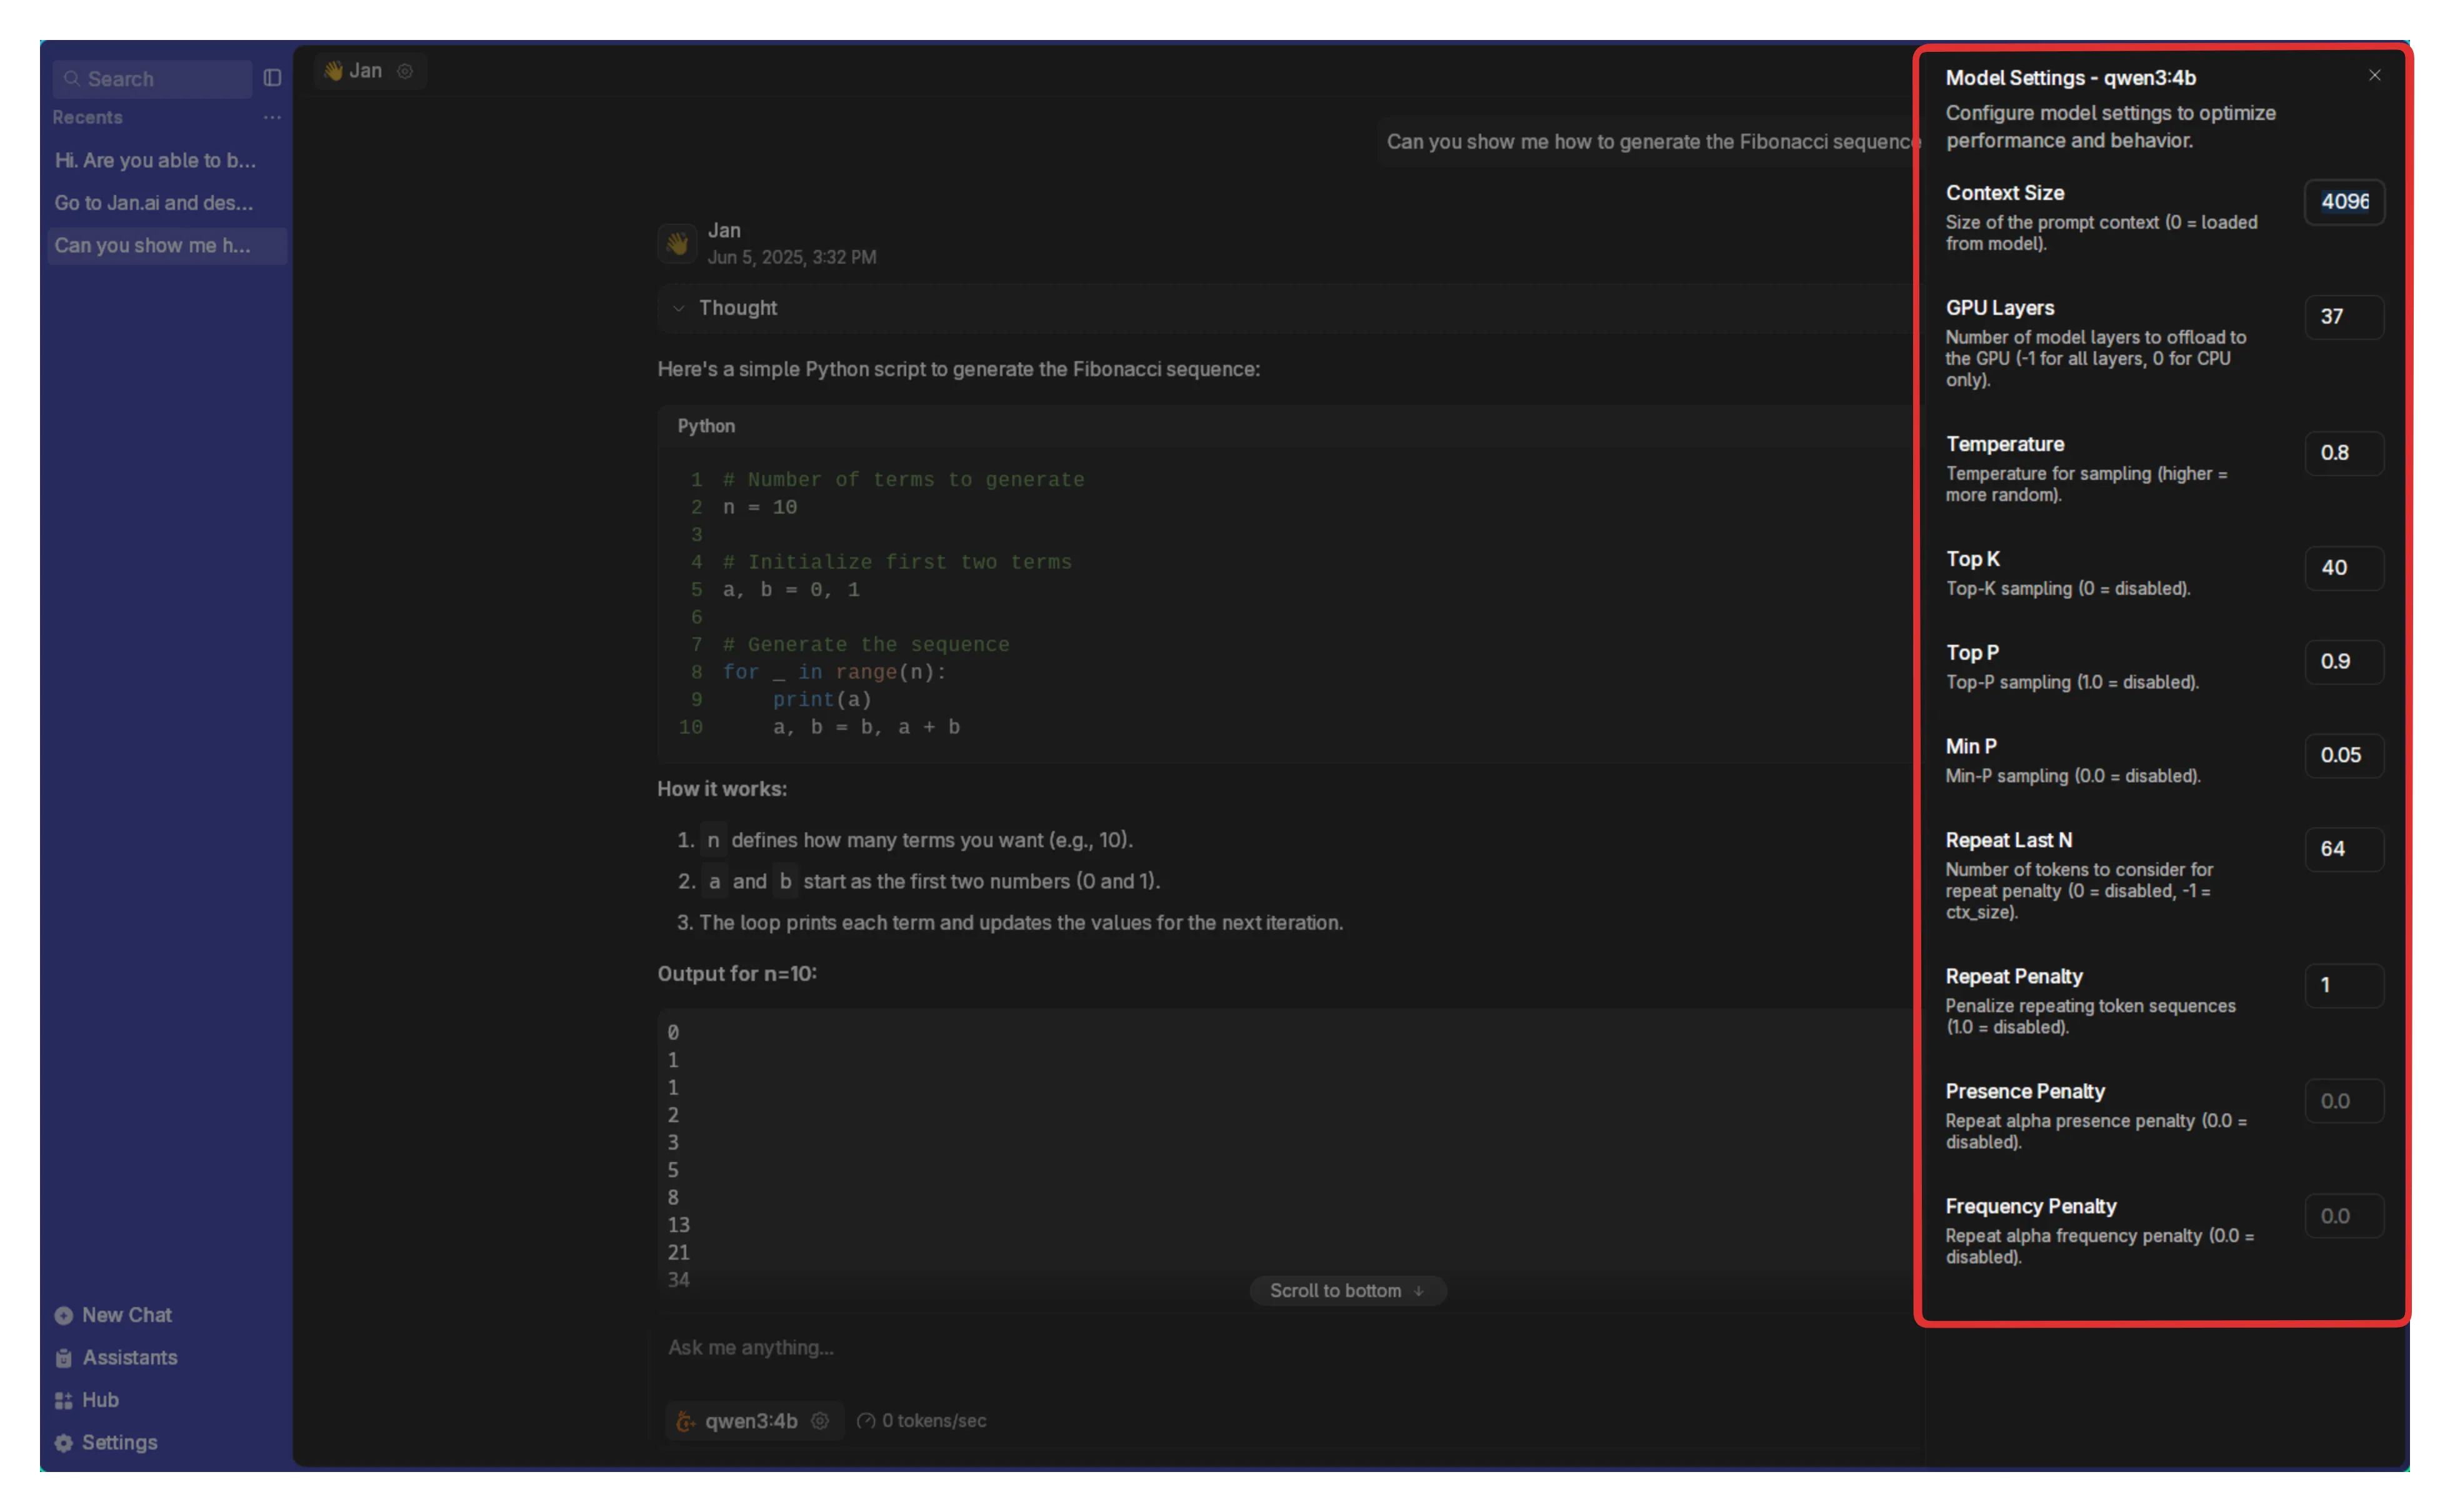
Model Parameters
Section titled “Model Parameters”Fine-tune model behavior:
- Click the Gear icon next to your model
- Adjust parameters in Assistant Settings
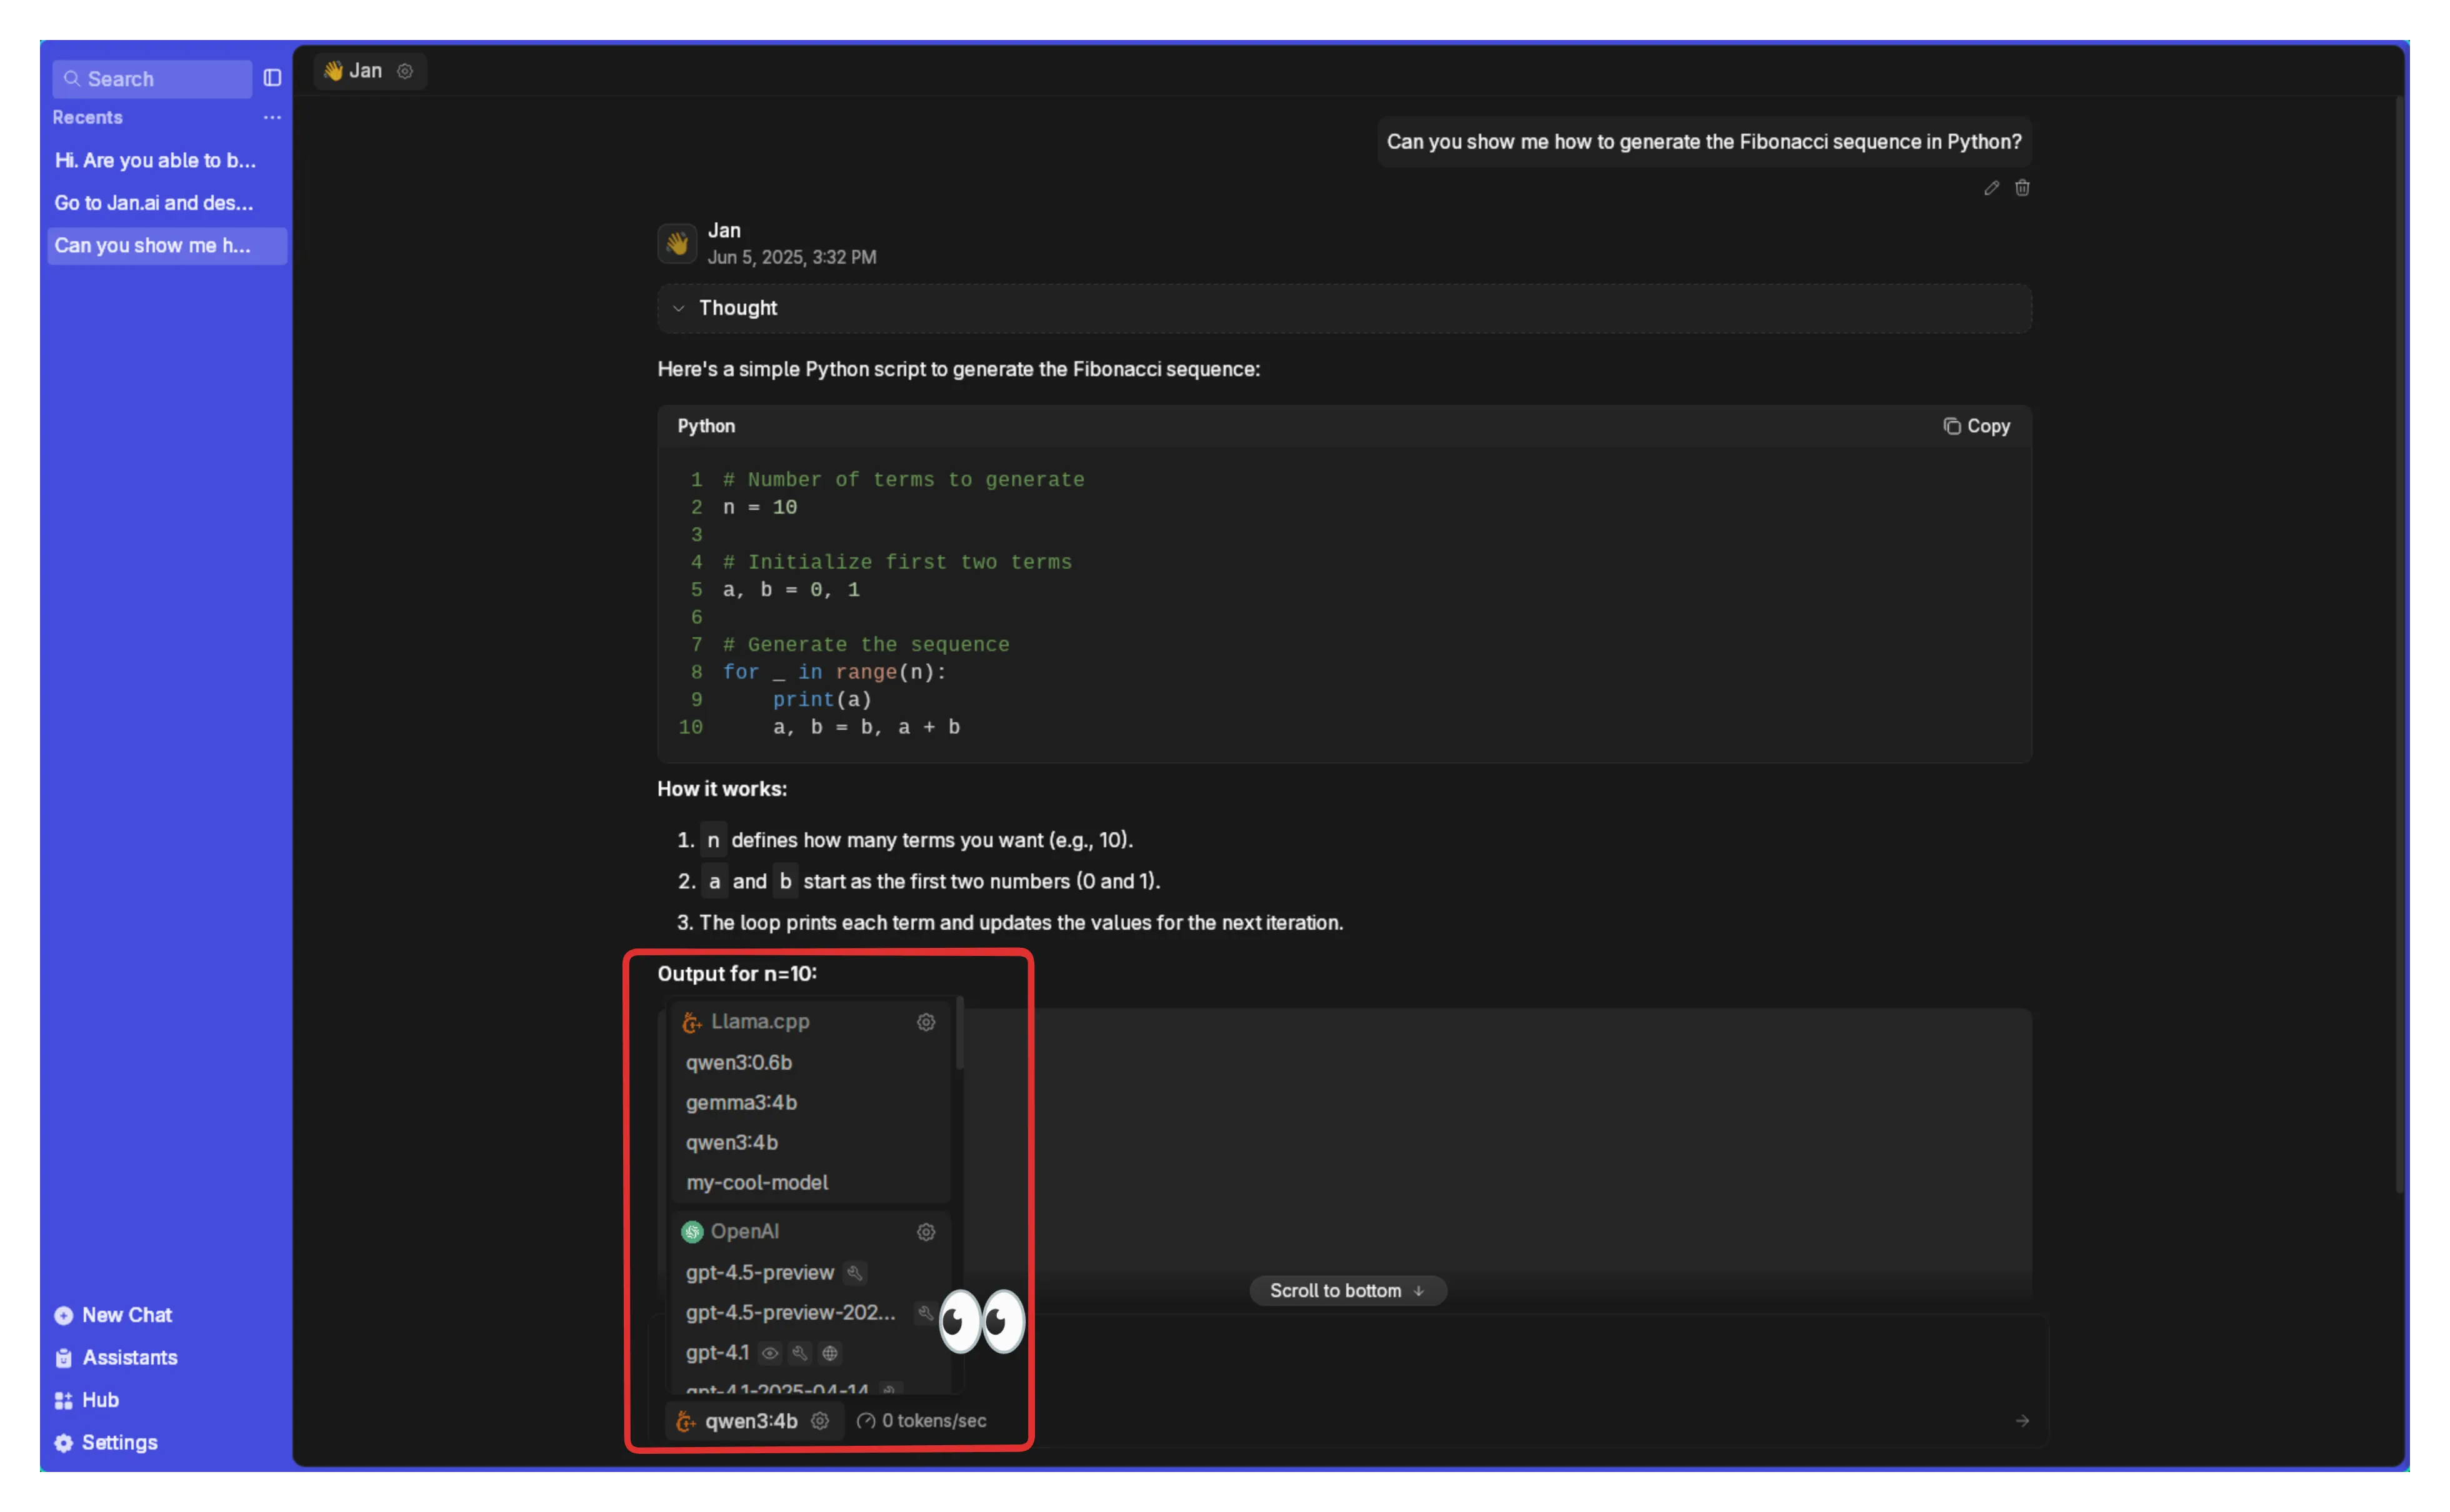
- Switch models via the model selector
Connect Cloud Models (Optional)
Section titled “Connect Cloud Models (Optional)”Connect to OpenAI, Anthropic, Groq, Mistral, and others:
- Open any thread
- Select a cloud model from the dropdown
- Click the Gear icon beside the provider
- Add your API key (ensure sufficient credits)
For detailed setup, see Remote APIs.